Update: 2019-02-15 – A full blown UEFI port for the Raspberry Pi 3 based on this code is now available in the Tianocore edk2-platforms repository.
Zen and the art of UEFI development
UEFI is an acquired taste. The EDK2 reference implementation has a very steep learning curve, and everything about it, from its build tools to the coding style, is eerily different, in a Twilight Zone kind of way.
UEFI as a firmware specification, however, has huge value: it defines abstractions for the interactions that occur between the OS and the firmware, which means [in theory] that development at either side can occur against the specification rather than against one of the many implementations. This allows things like universal OS installers, which is so common on x86 that people are sometimes surprised that this has always been a cause for headaches on ARM.
UEFI on the Pi
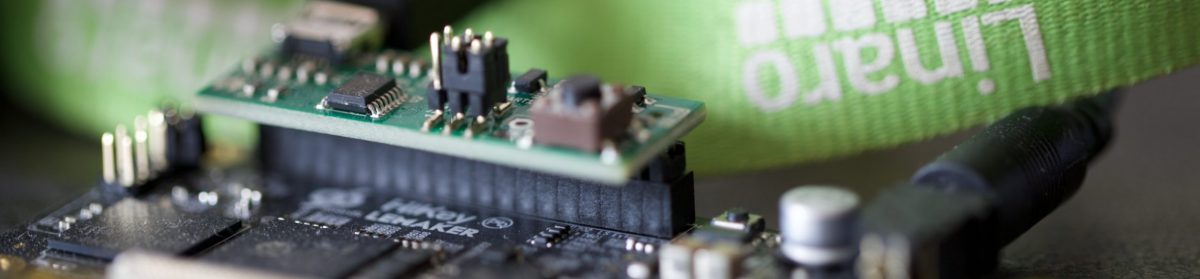
A prime example of this is the Raspberry Pi. It has a very peculiar hardware architecture, consisting of a Broadcom VideoCore 4 GPU, which is the primary core on the SoC, combined with one or more ARM CPUs. Revision 3 of the Raspberry Pi combines this GPU with 4 Cortex-A53 cores, which are low end 64-bit cores designed by ARM. The boot architecture matches the hardware architecture, in the sense that the GPU boots first, and reads a configuration file off a FAT partition on the SD card that describes how to proceed with booting the OS. A typical installation has a 32-bit ARM Linux kernel in the FAT partition, and a Raspbian installation (a variant of the Debian GNU/Linux distro compiled specially for the Raspberry Pi) on another SD partition, formatted as EXT4.
Using a standard Linux distro is impossible, which is unfortunate, given the recent effort in upstreaming SoC support for the Raspberry Pi 3. If we could only run UEFI on this board, we could boot a bog standard Ubuntu installer ISO and have an ordinary installation that boots via GRUB.
So over the past couple of months, I have been spending some of my spare cycles to porting EDK2 to the Raspberry Pi 3. This also involves a port of ARM Trusted Firmware, given that the Raspberry Pi 3 boots all its ARM cores in EL3 when configured to boot in 64-bit mode. It is a work in progress, and at the moment, it does little useful beyond booting the board into the UEFI Shell.
Building the secure firmware
Follow this link to my Raspberry Pi 3 branch of ARM Trusted Firmware, and build it using the following commands:
export CROSS_COMPILE=aarch64-linux-gnu-
export PRELOADED_BL33_BASE=0x20000
make PLAT=rpi3 fip all

# add this so we can find the resulting image in the next step
export ATF_BUILD_DIR=$(pwd)/build/rpi3/release
This port is a minimal implementation of ARM Trusted Firmware, which pens up the secondary cores until the OS is ready to boot them via PSCI. It also implements PSCI System Reset via the SoC watchdog. Beyond that, it does the usual initialization of the secure world, and drops into EL2 to boot UEFI.
Building the UEFI firmware
Clone this repository and symlink it into an existing EDK2 working environment. Build it as follows:
build -a AARCH64 -t GCC5 -b DEBUG \
      -p OpenPlatformPkg/Platforms/RaspberryPi/RaspberryPi.dsc \
      -D ATF_BUILD_DIR=$ATF_BUILD_DIR
The resulting bootable image, containing both the secure and UEFI firmware, can now be found in the following file
Build/RaspberryPi-AARCH64/DEBUG_GCC5/FV/RPI_EFI.fd
Copy it to the FAT partition on the SD card, and update config.txt so it contains the following lines:
enable_uart=1
kernel=RPI_EFI.fd
arm_control=0x200
The DEBUG build of EDK2 is very noisy, so after inserting the SD and powering the device, you should see lots of output from the serial port (115200n8) in a matter of seconds.
Wishlist
For this UEFI port to do anything useful, we need driver support. In order of relevance, we need
- USB host mode support
- Graphics Output Protocol (GOP) support
- wired Ethernet support (USB based)
- SDHCI support
- Random Number Generator (RNG) protocol [for KASLR]
The first two items would allow booting and installing a distro without use of the serial port at all, which would be a huge improvement to the user experience.
Contributions welcome!